Thursday, July 28, 2016

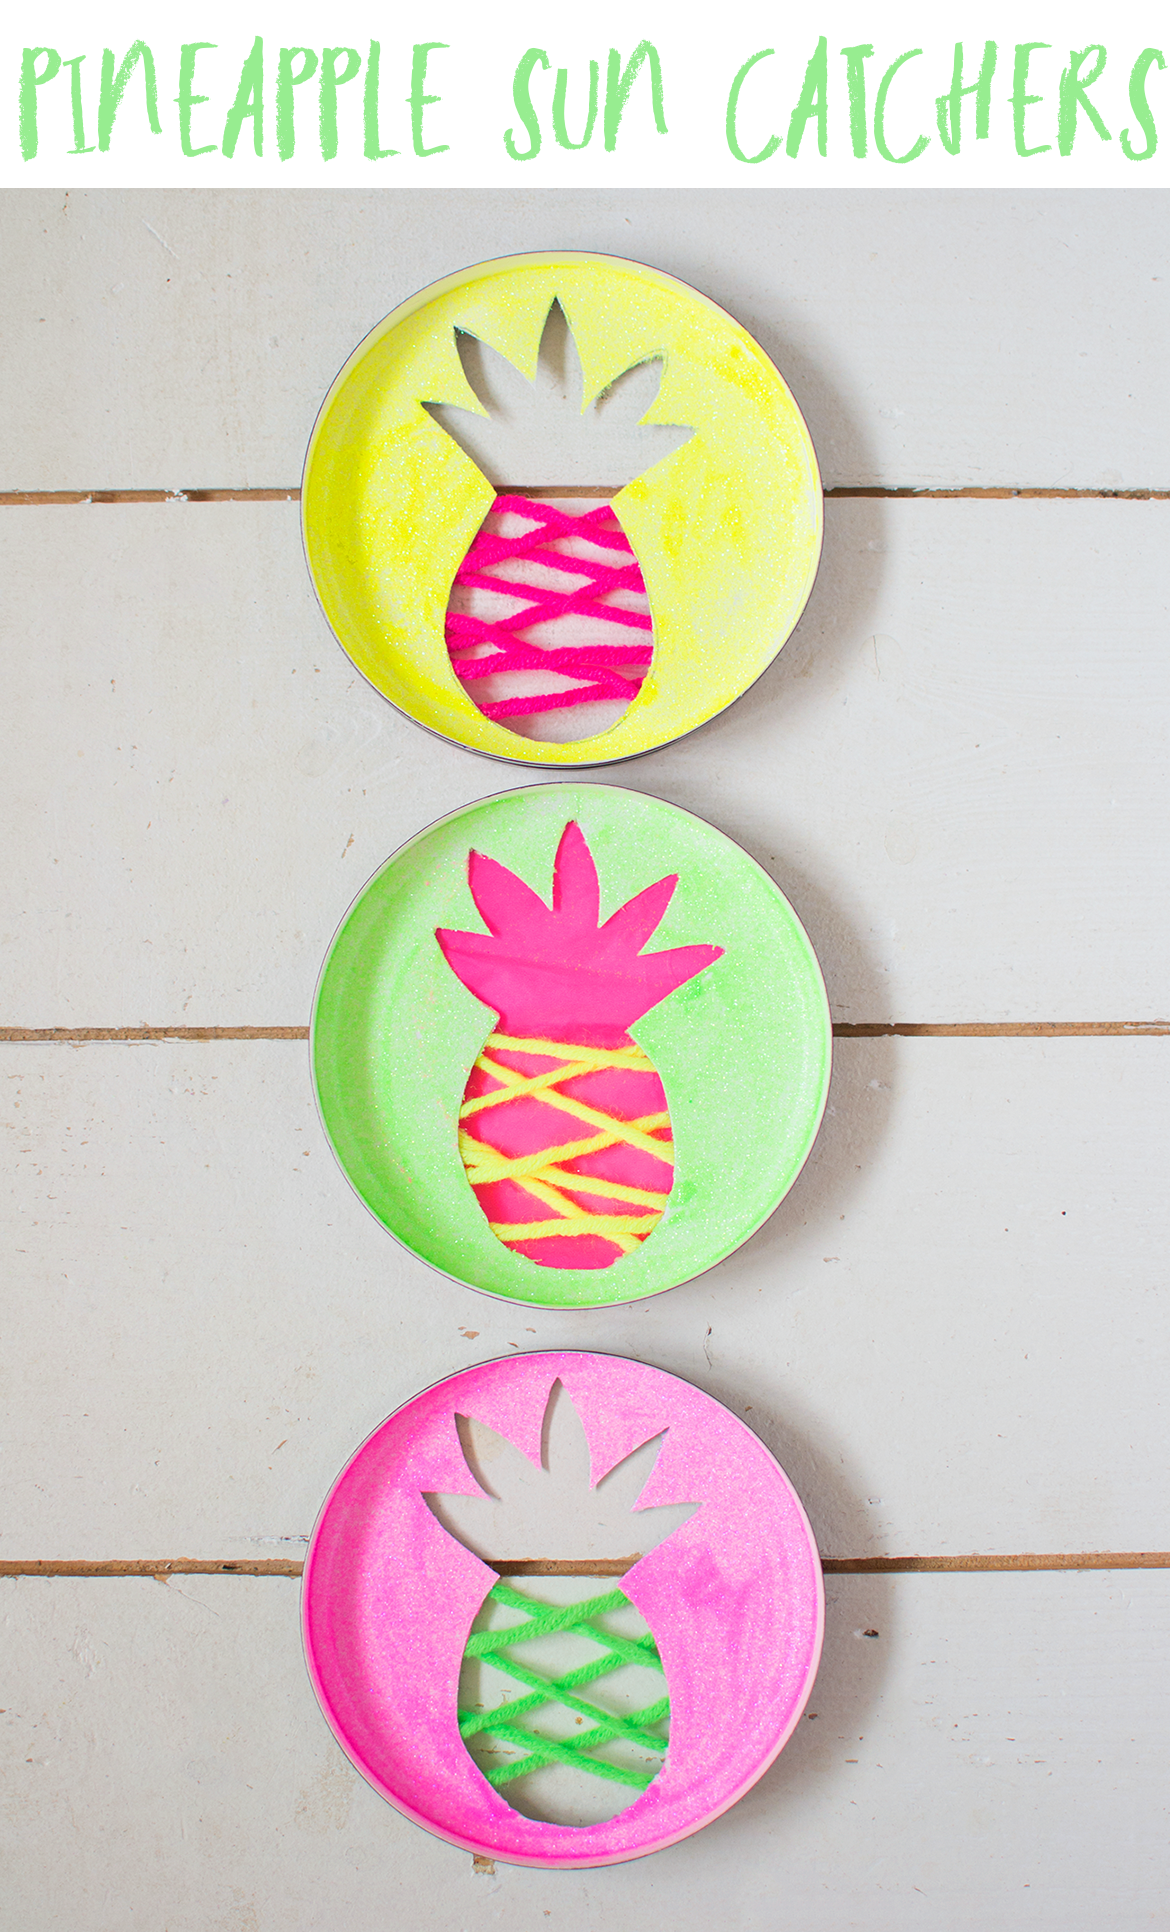
{Pineapple} Crafts

Dear Loverlies,

Summer is slowing down but our obsession for -pineapples- sure isn't. We have been searching on Pinterest for pineappley crafts and wanted to share our most favorite of finds. Enjoy!


This is our pineapple craft! Super simple.


You Need:
A mini pallet or canvas
green paint
yellow paint
gold glitter
Modge Podge
paintbrush

Stamp two of your little's feet side by side using yellow paint. Stamp their hand on the top in green paint. Using the Modge Podge, brush on diagonal lines. Cover in glitter. Done! 


Here are some other DIY Pineapple craftivities that we are in LOVE with!


Paper Plate Pineapple {Kid Craft}
Friday, July 8, 2016

DIY Magnet + Chalkboard

Dear Loverlies,

I'm sure you've seen this all over Pinterest. We have been eyeing this DIY for quite some time now and decided to try it out. Yep... it's really that easy. We used an oil drip pan to make a large magnet board + added chalk paint to turn it into a chalkboard as well. Remember the magnetic letters + numbers we found in the Target Dollar Spot? They pair perfectly with this board that is a must have for the playroom. Here are the deets on how we made ours.


You Need:

Oil Drip Pan

Chalk Paint

Command Strips
{Large Picture Hanging}

Magnets

:drip pan not pictured:

This DIY project is one of our favs because it's fairly inexpensive to make. Aside from the magnets, we snagged all the materials at our local Walmart. The oil drip pan was only $12 and it's huge! All together, including the magnets, this project cost us about $30. $30 for hours of entertainment for the littles, it's a win!

First, paint the oil drip pan. We prefer to use spray because it's just plain easier. Our board only needed two coats and it dried super quick. There are advantages to the Arizona heat :)

Attach the Command Strips to the back and follow the directions given on how to adhere to the wall. We used three sets of strips. Two on each side and one in the middle. It is stuck on and was super simple.

Once the board is hung, add magnets + chalk.


All done! Now you have a kid's toy that is appealing to the eye + fun! This is a great summertime activity and is educational at the same time. Work on shapes, color sorting, letter recognition, letter formation, we could go on and on. The possibilities are endless.


Tenley LOVES this board.


Thank you Target for making these magnets that actually kinda match my house decor. Another win.


Check out these loverly sites that inspired us to make this.

NicandKate09 hung the board vertically + has their little match letters.


Growing a Jeweled Rose takes it to a whole other level.

Homemade marble run and magnet board

LOVE this Word Work idea for the classroom! 
{Image Source Unknown}
Hurry and go get the materials so you can make this beauty! Be sure to Pin this for future reference.


xo,
L+K


Friday, June 17, 2016

Restaurant ||Busy Bag|| Kit


Dear Loverlies,

If you've been following our Instagram, you know we've been posting our favorite Mama :Lifesavers: this week. Today's :lifesaver: deserves it's own post because it's pretty awesome. This :lifesaver: will keep your little(s) busy when you're out at public places and will let you {enjoy} your meal without you having to keep handing your child straws or sugar packets to play with [hehe, we've all been there.]

We introduce to you our loverly Restaurant ||Busy Bag|| Kit. This specific kit is designed for a child ranging from 12-18 months.


We will of course be changing out the activities as the little one grows and we will for sure keep you posted on what goes inside the bag. We kept the kit limited to activities only. You can of course add food pouches, snacks, and eating utensils if you want everything all in one space.  Have fun making this, it hardly take you any time!


You Need:

Pouch *we recommend plastic so you can keep it clean*
Crayons *triangular*
Plastic Toys 
Play Doh
Table Topper
Book
Stickers
Anything else that your child will LOVE!


We of course found these items at our go to places; Target + Dollar Tree.

The pouch was found in the Target Dollar Section + was originally designed as a pouch for wet clothes. However we immediately thought restaurant kit! It has a handy handle attached on it and can be easily wiped down.


Table Toppers are super handy and will keep the table clean from the crayons and Play Doh.


My 16 Month old is loving anything with crayons these days. We added in a Mickey Mouse coloring book (she's obsessed) + crayons. We recommend the Crayola Triangular Crayons so they don't roll of the table. :) If you live in AZ, don't leave the crayons in your car unless you want colorful seats.


Littles LOVE stickers + Play Doh. Add in some straws with the Play Doh and you have an activity that will keep them occupied while you eat!


Kiddos enjoy playing with plastic toys. We put these creepy crawlers in the kit and these are actually the most favorite. Who would've known?


A book is a -must have- for the kit. If you don't already subscribe to Highlight's Hello Magazine, you need to! It's my little's most favorite reading material. The best part is it is made out of durable paper that can even be wiped off. Perfect for restaurants since the books may get messy. 


This is all that is in the kit at the moment. You may be thinking, "Can't you add more items?" The answer is YES! Limiting the bag to a few activities that the littles aren't always used to seeing at home, will allow for them to be more entertained with it. Since my babe is so young, puzzles and learning busy bags are a bit too complicated. Check out these blogs for more ideas!!


Blue i Style gives TONS of ideas for what can go in Restaurant Kits for kids of all ages! She is AMAZING! 

Restaurant kit for dining out with kids

Fun at Home with Kids is loaded with busy bag ideas that can go in the kit!

30+ Simple and Easy DIY Travel Kits for Kids.  Great for vacations - road trips, plane trips, etc - but also great for entertaining kids in waiting rooms and restaurants.  From Fun at Home with Kids

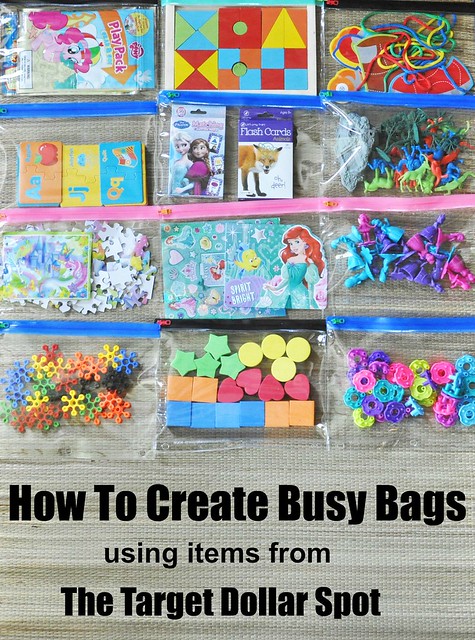
Ummmmm hello.....is this not the coolest idea? We love anything that can be made from the Target Dollar Spot. Check out Lexi Loo, Lily, Liam & Dylan Too

BusyBags

Our Seashell Tic-Tac-Toe would pair well with the kit!


xo,
L+K


    Saturday, June 11, 2016

    DIY Park Pails + Beach Buckets

    DIY Park Pails + Beach Buckets 

    Dear Loverlies,

    We are gearing up for summer over here and have created Park Pails + Beach Buckets to keep the littles entertained for future outdoor outings. The pail and bucket both contain the most perfect educational activities for your own little one(s) and they also make the most unique gifts. 

    These buckets make it super easy to -grab and go- while being prepared for a park or beach outing without much work involved. This is also a great way to keep all of your kiddo's favorite outdoor toys together and in one place. Follow the simple steps we've included below to put together your own Park Pail + Beach Bucket.


    Park Pails

    • Chalk
    • Bubbles
    • Duck Food
    • Goin' Buggy
    • ABC Look + Find
    • Find the {Treasure}
    • Goin' on a Dinosaur :Dig: 

    Beach Buckets

    • Beach Ball
    • Sand Toys
    • Bubbles
    • Searchin' for Seashells Tote
    • Tic-Tac-Toe
    • ABC Look + Find
    • Find the {Treasure}
    • Goin' on a Dinosaur :Dig:
    The best part of this creation is that you can find the buckets themselves and most of the items we used at your local dollar store and one of our most favorite places, Target's Dollar Spot.

    Before you hit the store, decide whether you're going to make a park pail or a beach bucket or BOTH. We live in AZ so it's park all the way for us. However, we can turn our park pails into beach buckets when we go on beach vacations as it's easily interchangeable. Below is a shopping list so you know exactly what to buy for your park pail and beach bucket.

    Click Here or on the picture for the Shopping List Freebie.


     Grab your favorite bucket and decorate the handles with stylish ribbon. All we did was tie knots around the handles with our favorite printed ribbon, tulle, and lace. Since we both have girls, we are obsessed with all things watermelons + pineapples at the moment so those are the themes we went with for two of these buckets.


    Next, personalize the bucket by using stickers or vinyl. This is completely optional, we used our vinyl cutter to cut out the names.


    Want to save time? You don't have to tie ribbon or personalize the bucket. As you can see, the yellow bucket is still fashionable just on its own.


    Add the {essentials} to the bucket.


    We add chalk, bubbles, + Duck Food to the park pail.


    Duck Food is :simple: Pour whole grain cereal into a canister and voila! Now you don't need to worry about having bread on hand. For more detailed instructions on how to assemble the Duck Food, Click Here.

    For the beach bucket, we add a beach ball, sand toys, Searchin' for Seashells Tote (mesh bag), + bubbles.


    Now that the {essentials} have been added, we are going to show you how to make six simple activities for the buckets that will take you only a couple of minutes each to assemble.

    Find the {Treasure} 

    Aargh Mateys! The littles love to go on treasure hunts so our Find the {Treasure} activity is a perfect park or beach game.


    Gather a small container, jewels, gold coins, eye patch, compass, and a small piece of paper rolled with string.

    Add them together in the container, and DONE. As an added bonus, we added a game card which makes for a fun visual. Click Here to print out the game card.

    Goin' on a Dinosaur :Dig:

    Allowing kiddos to explore their imaginations is a must! Let them pretend they are archaeologists and dig up fossils with this activity.


    These adorable dinosaur fossils were found at our local dollar store, similar fossils can be found on Amazon or even Target.

    We added a paintbrush and dinosaur dig shovel to top this activity off. This is single-handedly our little's most favorite park game!

    Searchin' for Seashells

    Have your little(s) search for seashells at the beach or rocks at the park for this beach themed activity. Toddlers especially enjoy picking up items and putting them in a bag so this game is perfect for your little collector. We love these mesh bags found on Amazon or often times Jane.com. Challenge your little to pick up seashells or rocks and sort them by size, color, textures, etc.


    ABC Look & Find

    Practicing the alphabet is a must for the kiddos so we wanted to turn it into a game by adding this activity into our buckets.


    Gather magnetic letters or foam letters. If using foam letters, add magnets to the back if you'd like to stick your letters onto metal playground equipment. If your playground doesn't have metal equipment to stick the letters on, hide them throughout the play area or in the sand on the beach.


    Have your babe collect the letters in alphabetical order. To make this more challenging for the older kiddos, have them collect all of the vowels and then the consonants.


    Place the letters in a paper bag with washi tape and a label to add a special touch.


    Goin' Buggy

    Kids LOVE bugs... Pretend bugs that is. We found a small bug house container at our local dollar store and added in a pack of fake insects. Add a vinyl label for a little flair or even have your little apply stickers to it and the game is made.


    Have the littles search for bugs in the sand or around the park. They can find them based on attributes such as colors, antennas/no antenna's, number of legs, etc.

    Seashell Tic-Tac-Toe

    A beachy game is essential for the buckets. Draw a grid in the sand and play away using seashells. All you need is a drawstring bag + shells (in two colors). For detailed instructions on how to put this together, Click Here.


    Look at how AMAZING the buckets look with all of the activities!


    Don't forget your Shopping List.


    or other DIY projects like this Summery Pinwheel Wreath.


    You can find more activities for the littles, decor tips, + DIY projects on our blog
    Loverly Learning & Co. Be sure to follow along with us on social media: Instagram | Facebook | Pinterest

    Thank you for checking out our post and we hope you come back to visit soon for future DIY activities.  Happy Summer!

    xo,
    Lauren + Kelli